Sync Contact
This feature is deprecated.
Yathit Browser Extension provides a bi-directional sync of events between Google and Sugar. Events created and edited in either platform will automatically be synced in regular interval by your browser.
To setup Contact Sync, visit to Setting panel, , on the sidebar and then click Contact Sync Setting.
Permission
If you have not grant read and write access right of your Google contact to Yathit, a grant permissions link will appear in the setting panel.
Figure: How to grant permission
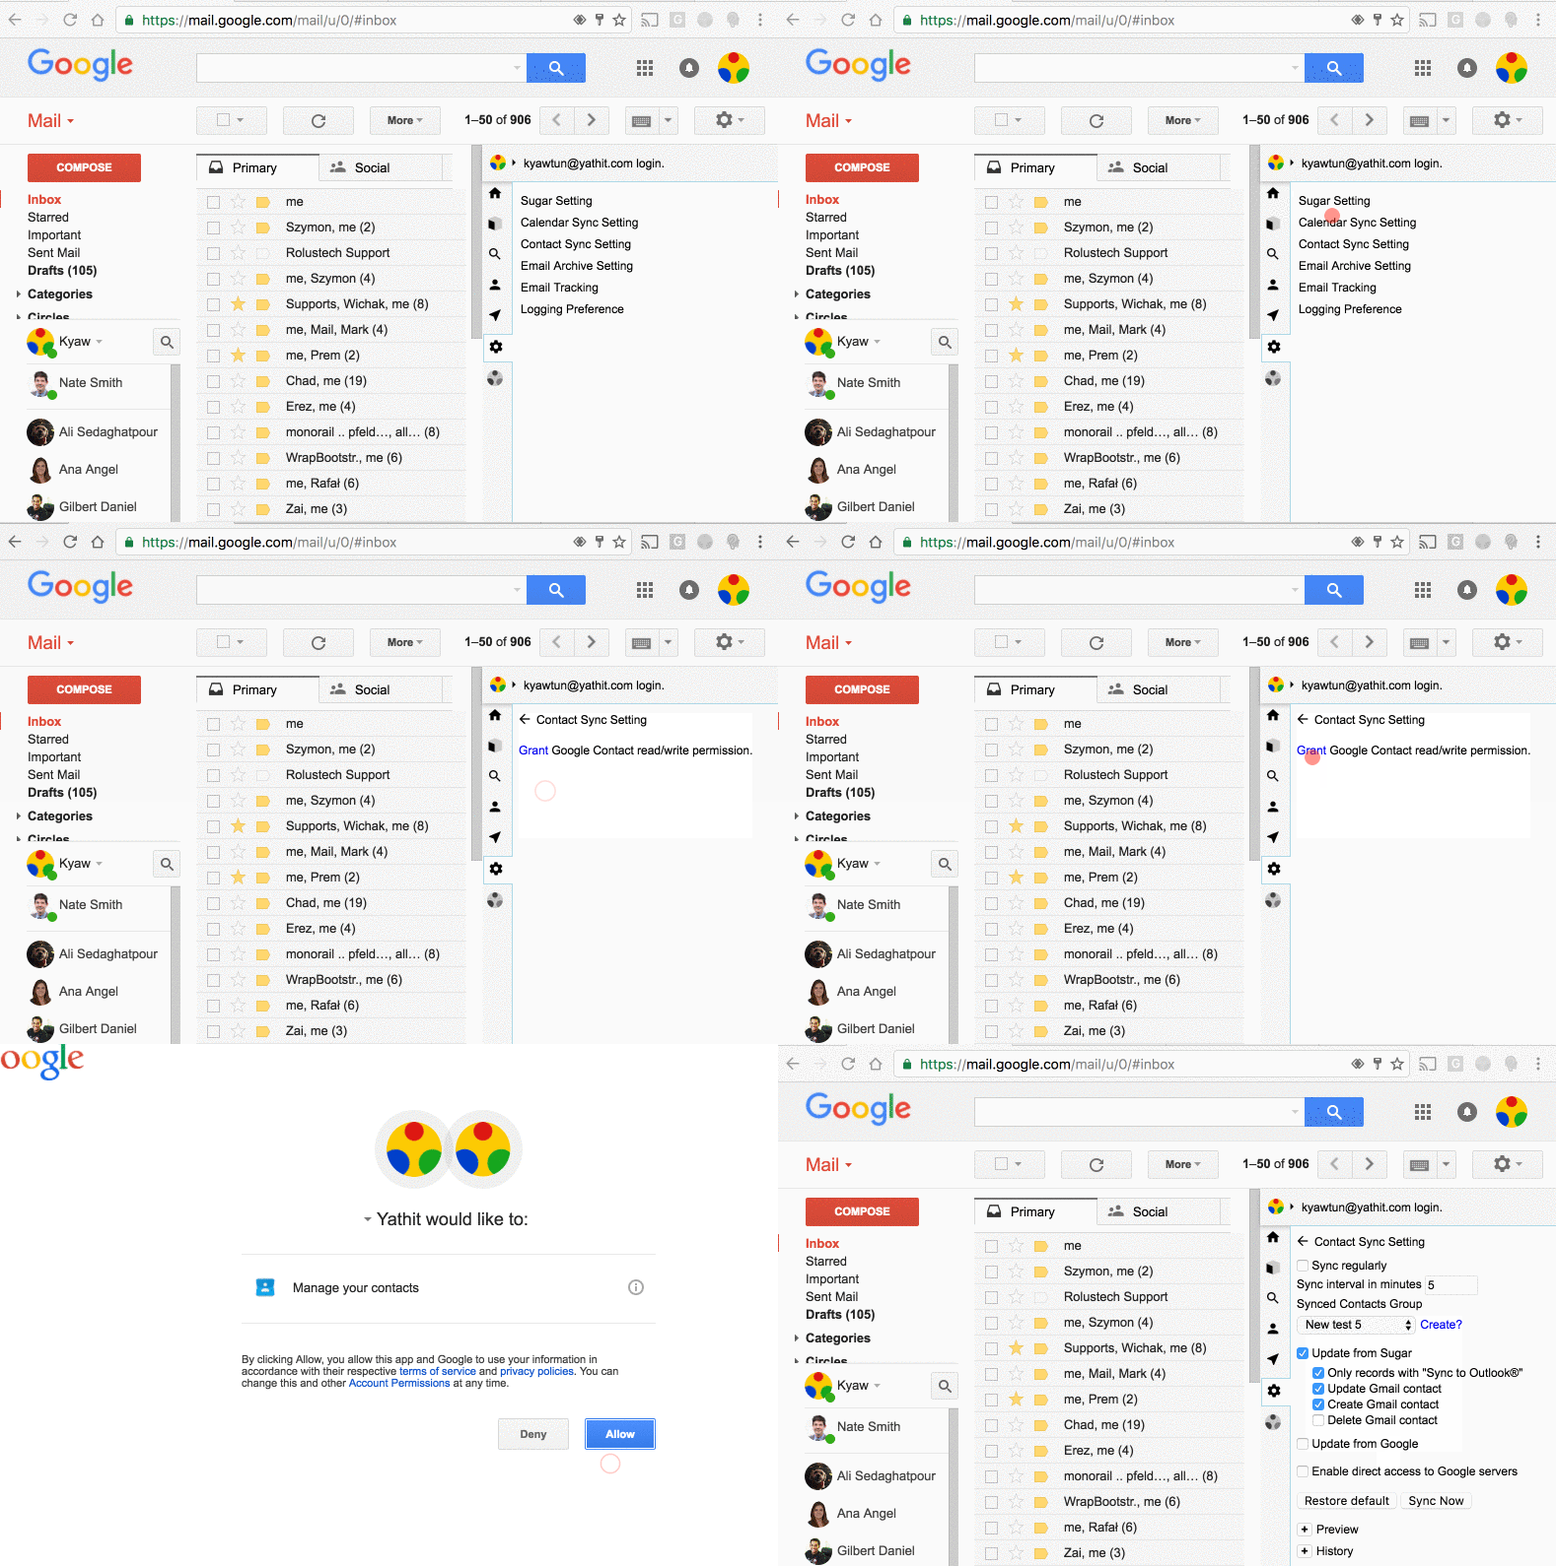
Click Grant link, to open popup window that allow you to give Yathit access to your contact. Click Accept.
Sync Direction Setting
Yathit provide very flexible option to sync so that it meets any business need. Sync can be from Sugar to Google or Google to Sugar or both.
To enable sync from Sugar Contact to Google Contact, check Update from Sugar checkbox option. Additionally you have option to
- Update Google Contacts: Yathit will update that is already sync Google Contact.
- Create Google Contacts: If check, Yathit will create a new Google Contact as necessary.
- Delete Google events: Delete the Google Contact event that is sync with Sugar record of deleted.
To enable sync from Google Contact to Sugar Contact, select Update from Google. Additionally you have option to:
- Update Sugar records: For Sugar Contact, that is already sync with Google Contact, to update if the Contact is updated.
- Create Sugar records: If check, Yathit will create a new Google Contact as necessary.
- Delete Sugar Records: Delete Sugar record that is sync with Google Contact of deleted.
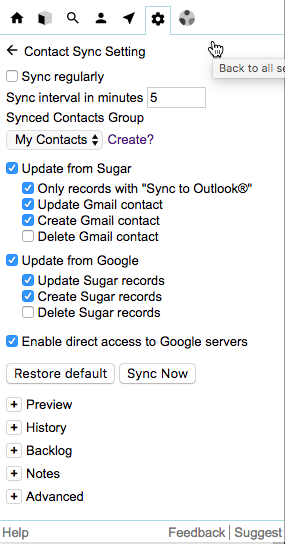
To apply bi-directional sync, select both above options.
Auto Sync
To run sync process in regular interval check Sync regularly check box. Change suitable sync interval in minutes, default to 5 minutes.
Please note that the sync process will be executed only when Chrome browser is running. Short sync interval definition might cause more load on your server. Only 100 records will be sync at a time, the remained records will be synced in next period.
Manual Sync
To apply manual calendar sync whenever you need, select the sync direction settings and then click on the “Sync Now” button.
Advanced Settings
There are additional settings or reports, mostly to understand what is happen after the sync.
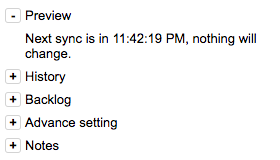
Sync Preview
Displays all the applied changes after the sync:
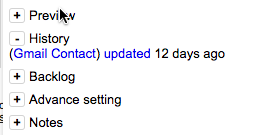
Sync History
Displays a time based history for all synced records with their previous record details and the applied changes:
Sync Backlogs
Backlogs are failed update, quarantine from synchronization. To participate in synchronization again, click release after manually inspecting each records.
